Pulse Opacity
Creates a smooth pulse that fades opacity between a minimum and maximum value you set, so it never fully disappears unless you want it to.
- Author:
- Denis Stefanides
- Category:
- Time

Expression
freq = 1;
minOpacity = 30;
maxOpacity = 80;
wave = Math.abs(Math.sin(time * freq * Math.PI));
minOpacity + wave * (maxOpacity - minOpacity)
Where to Apply
Apply this expression to any layer’s Opacity property (Transform > Opacity).
You can also use it on any effect property that has a percentage slider with a stopwatch.
How It Works
freq = 1; // How many pulses per second
minOpacity = 30; // The lowest opacity value
maxOpacity = 80; // The highest opacity value

// Make a smooth wave that goes from 0 to 1
wave = Math.abs(Math.sin(time * freq * Math.PI));

// Scale the wave between minOpacity and maxOpacity
minOpacity + wave * (maxOpacity - minOpacity)
Set the pulse speed:
freq = 1controls how fast the opacity pulses. 1 means once per second. You can make it slower (like 0.5) or faster (like 2) depending on the feel you want.Set the minimum opacity:
minOpacity = 30means even at its darkest point, the layer will stay at 30% opacity. It won’t ever fully disappear unless you set this to 0.Set the maximum opacity:
maxOpacity = 80means at the brightest point of the pulse, the opacity will peak at 80%.Create a base wave:
Math.abs(Math.sin(time * freq * Math.PI))generates a wave that smoothly oscillates between 0 and 1 over time.Stretch the wave to your range:
wave * (maxOpacity - minOpacity)scales the wave so it fits exactly between your minimum and maximum values.Shift the wave up:
minOpacity +shifts the entire wave up so the lowest value starts exactly atminOpacityinstead of 0.Result:
Your opacity now gently pulses between whatever two values you set — super clean, super adjustable, no random flickers, no middle-offset confusion.
Frequently asked questions
How do I use the expression on this page?
Just copy the full expression code from the top of this page. Then Alt-click (or Option-click on Mac) the stopwatch on the property you want to animate. Paste the code into the editor and that's it. If you’re not sure which property to use, check the "Where to Apply" section above.
The expression isn’t working. What should I check?
First, make sure your project is using the JavaScript engine (go to File > Project Settings > Expressions). Also double-check for missing characters, and see if the code requires parenting a layer. If so, there will be a comment in the code explaining what needs to be connected.
I’m not sure what the expression does. Where can I learn more?
Take a look at the "How It Works" section on this page. It explains each part of the expression in plain language so you can understand how everything works together.
Can I customize how the expression behaves?
Yes, absolutely. Most expressions include easy-to-edit variables near the top and comments that guide you on what to change. You can also link sliders or checkboxes using Expression Controls if you want more control in the timeline.
Can I apply this to other properties too?
Yes, you can use it on any property with a stopwatch. That includes Position, Scale, Opacity, and also effect settings like Blur or Tint.
Will it work in comps with different frame rates or sizes?
In most cases, yes. These expressions are designed to adapt to your comp’s resolution and frame rate. If anything specific needs adjusting, it’ll be noted in the code or in the "How It Works" section.
Related Expressions
Explore more expressions in this category
Start/End Expression at Specific Time
Run any animation or behavior (like wiggle or anything else) between two specific times inside After Effects.

Posterize Time
Lock a property to a specific frame rate so it updates at a fixed interval, perfect for stuttery or stop-motion effects.
Time
A simple time-based expression that creates continuous motion or animation without keyframes.
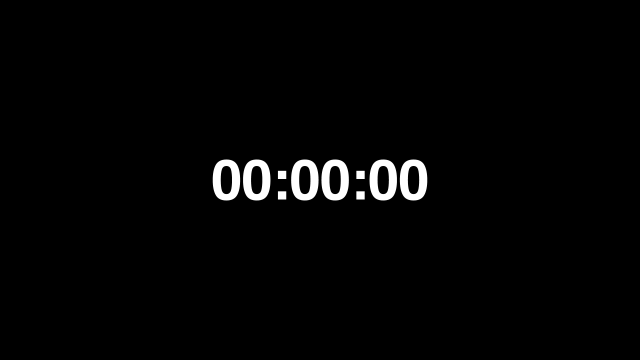
Digital Clock
Create a real-time digital clock in After Effects that updates every second using just an expression.